Measuring Flush and Gap During Final Vehicle Assembly Verification With Advanced 3D Laser Profilers
A common application in the automotive industry is flush and gap inspection to ensure that vehicle panels are aligned properly. Although this application appears relatively simple, the value of the flush and gap inspection system lies in the details. For example, a 2D system may determine if a gap is consistent between a door and a body panel. However, determining if two panels are flush or on the same plane is more complicated. Compact 3D sensors such as the Cognex In-Sight 3D-L4000 can easily and quickly detect whether panels are on the same plane through an industry-proven In-Sight software program designed in an intuitive spreadsheet format.
Automated Robotic Solution
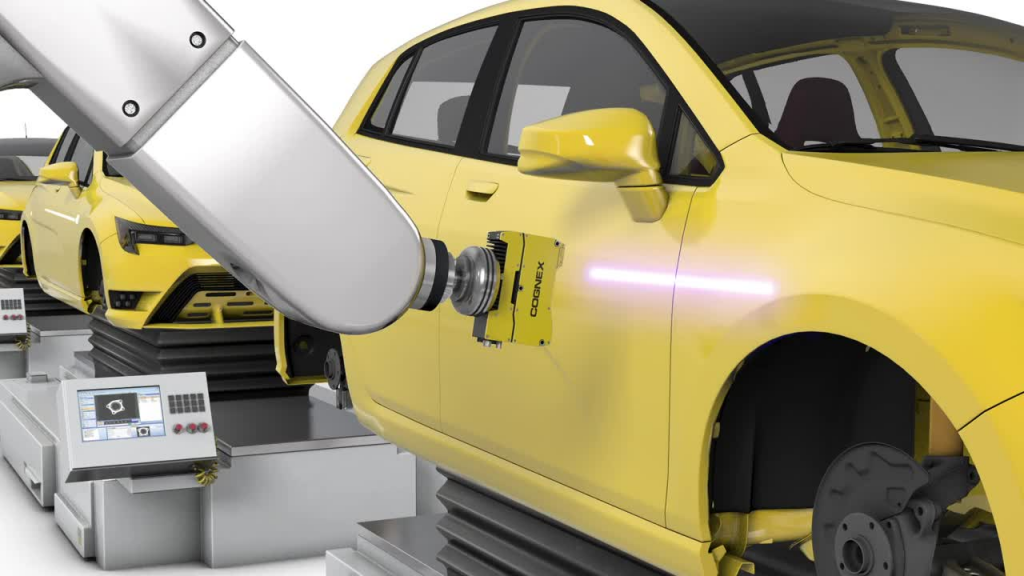
 Laser profiling offers a turnkey solution for flush and gap measurements. To verify dimensions, a Cognex 3D laser profiler mounted on a robot travels along preselected points of the stationary car doors, generating a 2D profile in x and z. By measuring and comparing z-dimensions, the profiler can detect any difference in height between the two doors. The profiler also computes the gap width between the two vertical edges (x dimension) to ensure it falls within an established tolerance. During inspection, the Profiler’s measurements are delivered as a pass/fail to confirm that the panels have been assembled correctly. Precise measurements can also be exported, along with profile data, for quality management and process control. This data is useful for tuning the automation equipment and robotics upstream before major failures occur.
For more information: www.cognex.com


