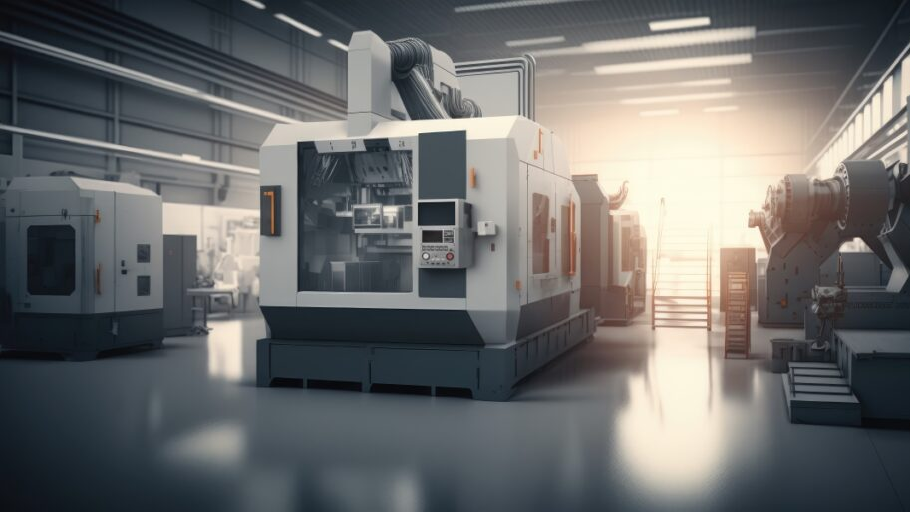
Wireless Laser Scanning Sensors Seamlessly Integrate With Production Machinery
With Industry 4.0 and the interconnection of machines, controls and software on the shop floor constantly gathering pace, there is an increasing requirement for inspection devices that can communicate wirelessly. Absence of cabling facilitates integration closer to the point of manufacturing, shortening the closed-loop feedback path of metrology data and hence speeding response time, while also eliminating having to plan for additional wiring. Consequently, the Industrial Metrology Business Unit of Nikon Corporation has developed wireless technology for its laser scanning sensors, which is initially available for the manufacturer’s high-speed LC15Dx and L100 line scanners.
 The wireless models have been developed so they can be adapted to support a variety of applications, whether they are mounted on production machines or adapted to metrology equipment. The LC15Dx has particularly high accuracy, whereas the L100 with its longer laser line is better suited to 3D scanning of large, complex, free-form shapes such as aerospace parts, dies, moulds and gears.
High Data Throughput, Consistency and Accuracy
The non-contact scanners transmit in near real-time over a Wi-Fi link to the dense point cloud data they collect, while maintaining the high data throughput, consistency and accuracy of a wired connection. Immediate analysis of results and adjustment of manufacturing parameters can ensure that what is being produced is always within tolerance.
A primary application is to mount a wireless scanner in the spindle of a 5-axis CNC mill, including hybrid variants capable of both additive and subtractive manufacturing. Such platforms allow, for example, a worn turbine blade to be iteratively rebuilt, machined and measured until it meets the required specification.
Nikon product manager Kristof Peeters advised, “Our new wireless scanning technology is ideal for supporting in-process quality control on machining centres and 3D printers, avoiding the time-consuming process of taking a component to a quality control room to be checked, a practice that virtually precludes feedback of measurement data to production. There are numerous other target markets as well. The hardware could be adapted for use on coordinate measuring machines, robots or other CNC machines that lack suitable cabling for retrofitting an optical sensor. Again, it depends on what the equipment manufacturer or integrator needs.”
For more information: www.industry.nikon.com


