Robotic Automation of Fan Blade Visual Surface Inspection
Automation is a common practice in the aerospace industry and more particularly among the manufacturers of gas turbine components. The benefits of automating the production and repair of these parts are numerous: consistency, repeatability, increased precision, reduced cycle time, data reports, etc.
However, a crucial stage in production remains not very automated: visual inspection. The technology continues to evolve, and advanced robotic solutions are emerging to offer a concrete response to gas turbine visual inspection automation needs.
What are the latest advances in automated visual inspection? How can this advanced technology be applied to gas turbine parts such as fan blades? What are the benefits of automating visual inspection?
An expert in automated visual inspection, AV&R presents its technology and answers these questions.
Automating Detection of all Defects in All Areas
Fan blades are considered critical parts of gas turbines. They are subject to major constraints and the repair carried out by MRO (Maintenance, Repair and Operations) manufacturers is crucial. Visual inspection is an important step to analyze the surface of the part and identify defects endangering the integrity of the part. Many defects are commonly present on the surface of the blades, complicating the inspection process: nick/dent, scratch, erosion, deformation, tip curl, wear, rub mark, fretting, or even smooth dent.
 In addition, fan blades have different complex zones. Some are smooth surfaces, and some are edges. It is therefore crucial that an automated inspection solution makes it possible to analyze all these areas.
Areas of Fan Blades
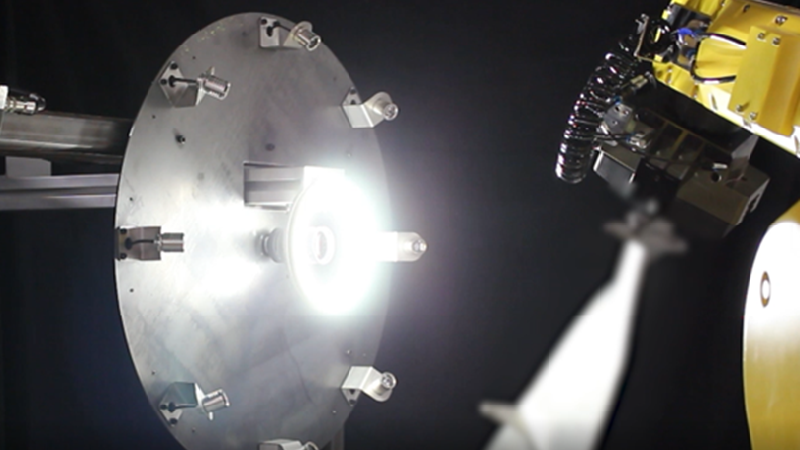
Due to a selection of various technological tools, AV&R’s automated visual inspection solution can detect all of these defects in all areas of the part. Proceeding in sequence, the robot manipulates the blade to place it in different positions in front of the tools which will then acquire images of the surface. The inspection can be of two types:
– 2D inspection: through a ring of light or a photometry assembly composed of LED lights, the inspection system acquires one or more images.
– 3D inspection: a 3D scanner acquires a point cloud of a particular area to be inspected.
AV&R’s OwlVision software completes this automated solution by allowing programming, control and equipment calibration, or algorithms management. The algorithms have been specifically created by AV&R to detect and analyze the surface defects of fan blades, including the defect detection on the leading edge or the dynamic inspection allowing to measure in 3D a critical area requiring additional validation.
The combination of these tools and the software allows the system to automatically detect the various defects present, regardless of the complexity of the area to be inspected. It also makes it possible to provide precise data on the defects detected: type, exact positioning, and dimensions.

Benefits of Automating Visual Surface Inspection
 This automated visual inspection technology offers more advanced results than the inspection traditionally done by operators. It avoids human subjectivity and ensures accurate and repeatable results. Indeed, the automated system allows the inspectors to identify, without variation, the types of defects on various surfaces, and according to criteria established beforehand.
The automated system, through its OwlVision software, also allows the generation of comprehensive reports that present and record inspection data. This data is valuable for manufacturers who wish to optimize their process and take part of the industry 4.0 approach.
Automated visual inspection technologies are now capable, thanks to selected tools and appropriate software, of inspecting critical and large parts such as fan blades. The automation of surface inspection is a solution within the reach of manufacturers who wish to optimize their production and obtain advanced results.
For more information: www.avr-global.com


