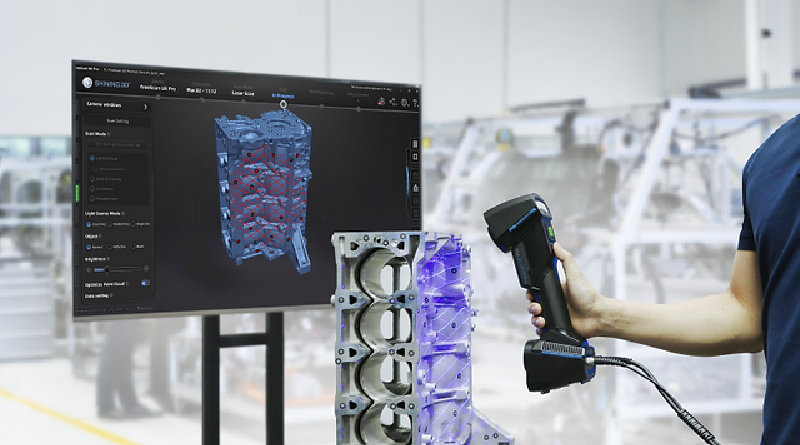
Updated AI Software Brings Innovative New Features To Artec Leo
Free to all users, software update version 1.8 brings HD previews to Leo’s display, via a new mode that utilizes AI to recover more surface data from captured frames.
Read Article →Free to all users, software update version 1.8 brings HD previews to Leo’s display, via a new mode that utilizes AI to recover more surface data from captured frames.
Read Article →The strength of plastic gears greatly depends on their temperature. Determining required material properties for the design of the gears takes a lot more time and effort than for steel gears, as the properties have to be measured at different temperatures.
Read Article →With the new release in October 2023, GOM software will be renamed Zeiss Inspect. All existing functions of the GOM software remain intact. Zeiss Inspect becomes the company’s new software platform going forward that will cover all measurement technologies in the future.
Read Article →Artec Studio 18 is packed with new tools that expedite users’ 3D scanning workflows. When reverse engineering, it’s now much easier to stamp out deviations and modify parts to reflect design intent.
Read Article →To be competitive in the tooling, mould and die industry, quality and efficiency are key. Hexagon’s solutions streamline the mould and die development process from design to manufacturing, ensuring accurate manufacturing for both tooling and end products.
Read Article →The Feed Rate Calculator web app empowers manufacturers to make fast decisions about the use of untested milling processes and to obtain accurate forecasts of cutting forces expected on the cutting tool.
Read Article →Verisurf Software, with reseller partner Accurate Gauging and Instruments, Ltd, will be demonstrating advanced metrology solutions for aerospace, automotive, energy, and more at the EMO 2023 exhibition.
Read Article →Atlas is an AI co-pilot for engineers that can answer engineering questions and analyze specific parts in plain language.
Read Article →Install the sensor, scan the object, visualize and evaluate the measurement data: and all of these steps within just 10 minutes.
Read Article →The measurement / verification of the raw part as the final verification and the in process measurement and autonomous correction of the part will increase productivity and reduce to a very minimum bad parts an quality controls.
Read Article →