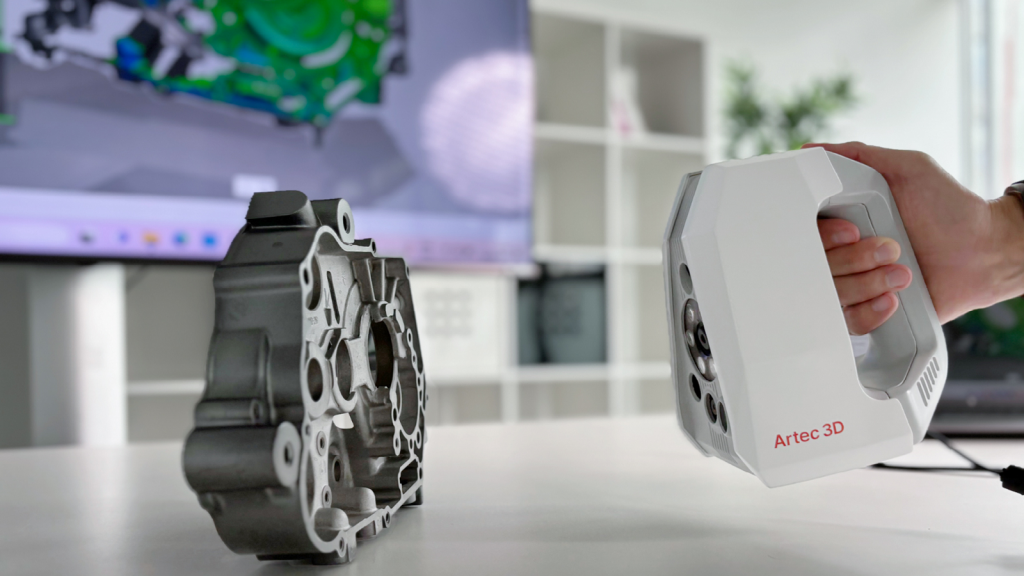
2026 High-Resolution Blue-Light Scanner Offers Verified Compliance
The demands placed on modern metrology systems continue to intensify. As industries move toward tighter tolerances, full digital traceability, and standards-driven quality assurance, 3D scanning solutions are expected to deliver not only exceptional detail but also verified measurement reliability. With the release of Artec Spider II 2026, Artec 3D positions its flagship blue-light scanner firmly within this new era of professional, measurement-grade digitisation.
Building on the reputation of the original Spider II, the 2026 edition introduces next-generation optics, formal VDI/VDE compliance, and enhanced standardisation – transforming an already respected scanner into a tool designed explicitly for regulated, high-precision applications.
Next-Generation Optics for Greater Precision and Clarity
At the core of Spider II 2026 is a refined optical system that advances Artec’s renowned ultra-high-resolution blue-light technology. The revised optics deliver sharper data capture, improved edge definition, and increased clarity across complex geometries and fine surface details.
Every scan produces lifelike geometry combined with full-colour data, resulting in digital replicas that are both visually rich and dimensionally accurate. For metrology professionals, this combination is critical: colour and surface detail support interpretation and documentation, while the underlying geometry remains measurement-grade, suitable for inspection, reverse engineering, and quality control workflows.
The result is a scanner capable of faithfully reproducing small features, intricate contours, and subtle surface variations – without sacrificing accuracy or repeatability.
Formal VDI/VDE Compliance
A defining milestone of the Spider II 2026 release is the introduction of formal VDI/VDE compliance. This independently verified certification confirms that the scanner meets rigorous industrial metrology standards for accuracy, traceability, and measurement reliability.
For users operating in environments where dimensional integrity is non-negotiable, this compliance is more than a specification – it is a prerequisite. Aerospace, defence, precision engineering, and regulated inspection workflows all require documented proof that measurement systems perform as claimed. VDI/VDE compliance provides that assurance, enabling Spider II 2026 data to be confidently used in critical decision-making processes.
By aligning with recognised international standards, Artec strengthens Spider II’s role not just as a high-resolution scanner, but as a trusted metrology instrument.
Strengthened Standardisation for Stability and Repeatability
Beyond compliance, Spider II 2026 introduces a strengthened standardisation framework designed to enhance long-term stability and repeatability. Consistent performance across different operators, environments, and scanning sessions is essential in professional measurement contexts, where variability can undermine confidence in results.
These improvements ensure that Spider II 2026 delivers reliably consistent scans, even under diverse scanning conditions, supporting repeatable inspection processes and dependable documentation. For organisations implementing digital quality workflows or building long-term datasets, this level of stability is a key differentiator.
Together with upgraded optics and certified accuracy, these enhancements elevate Spider II 2026 into a distinct class of standards-driven 3D measurement solutions.
Target-Free Scanning for Faster Workflows
Despite its focus on metrology compliance, Spider II 2026 retains one of its most valued characteristics of fully target-free scanning. By eliminating the need for physical markers, the system reduces setup time, simplifies operation, and enables completely contactless data capture.
This approach offers clear advantages in environments where speed, safety, or material sensitivity are critical. In medical, forensic, and laboratory settings, target-free scanning supports sterility and evidence integrity. For delicate artifacts or components where adhesive targets are prohibited or impractical, it enables high-precision digitisation without physical interference.
The absence of targets also streamlines field and shop-floor workflows, allowing professionals to focus on data quality rather than preparation—without compromising accuracy.
For more information: www.artec3d.com


